Wednesday, November 26, 2014

Shop Your Stash Kit - November 2014

I know I may be a little late in showing this month's Shop Your Stash kit that I created... But it's been a busy (and exciting!) month! I have a few layouts that I will share later that go more into this.
Here's my fun (and super warm-toned) kit. I didn't really have a direction with this, but really wanted to play with some warmer and darker tones than I may normally use. I pulled some dark, warm browns, reds, and teals to add some more color. I didn't want to create something super warm-toned, but wanted to enhance the Fall-esque nature of some of the items that have been kicking around my stash for too long.


Paper Top Row L-R:
Daily Details (Hello Autumn) – Bella Blvd.
Worldwide (Vintage Chic) – Heidi Swapp
Victorian (Random Collection) – Crate Paper
Oh Joy (Jolly by Golly) – Cosmo Cricket
Crisp (Suave Collection) – Authentique

Paper Bottom Row L-R:
You & Me (Gertie-Stella & Rose) – My Mind’s Eye
Accent Cuts (Random Collection) – Crate Paper
Bridesmaids (Portrait Collection) – Crate Paper
In Print (Kraft Funday) – My Mind’s Eye
Flour Sack (Nook & Pantry) – Basic Grey

Partial Pieces
Pioneer (Thankful Collection) – Authentique
Storytime Street (5th & Frolic) – American Crafts
Sycamore (Into the woods) – Lawn Fawn
Vellum

Cardstock
orange – Core’dinations
kraft - American Crafts
brown - American Crafts
forest green - Core’dinations

Embellishments:
Everyday Fun (Kraft Funday) – My Mind's Eye
Vintage Mini Memories Cameras – Maya Road
Chipboard Heart Mini Album – Maya Road
Flowers – Heidi Swapp & Petaloo
In a Stitch Blooms (kraft) – Sassafras Lass
Mini Envelopes – SMASH
Various die cuts – My Minds Eye
Border Stickers (Acorn Avenue) – Crate Paper
Hexagon Confetti – Um Wow Studio
Thickers (burlap, Hello) – American Crafts
Alpha Stickers (Woodland Park) – October Afternoon
A is for Autumn (Sweater Weather) – Simple Stories
Badges – Studio Calico
Ribbon – May Arts
Sticky Keys (Ghoul Green) – October Afternoon
Buttons (The Sweetest Thing) – My Mind’s Eye
Polaroid frames - Maya Road

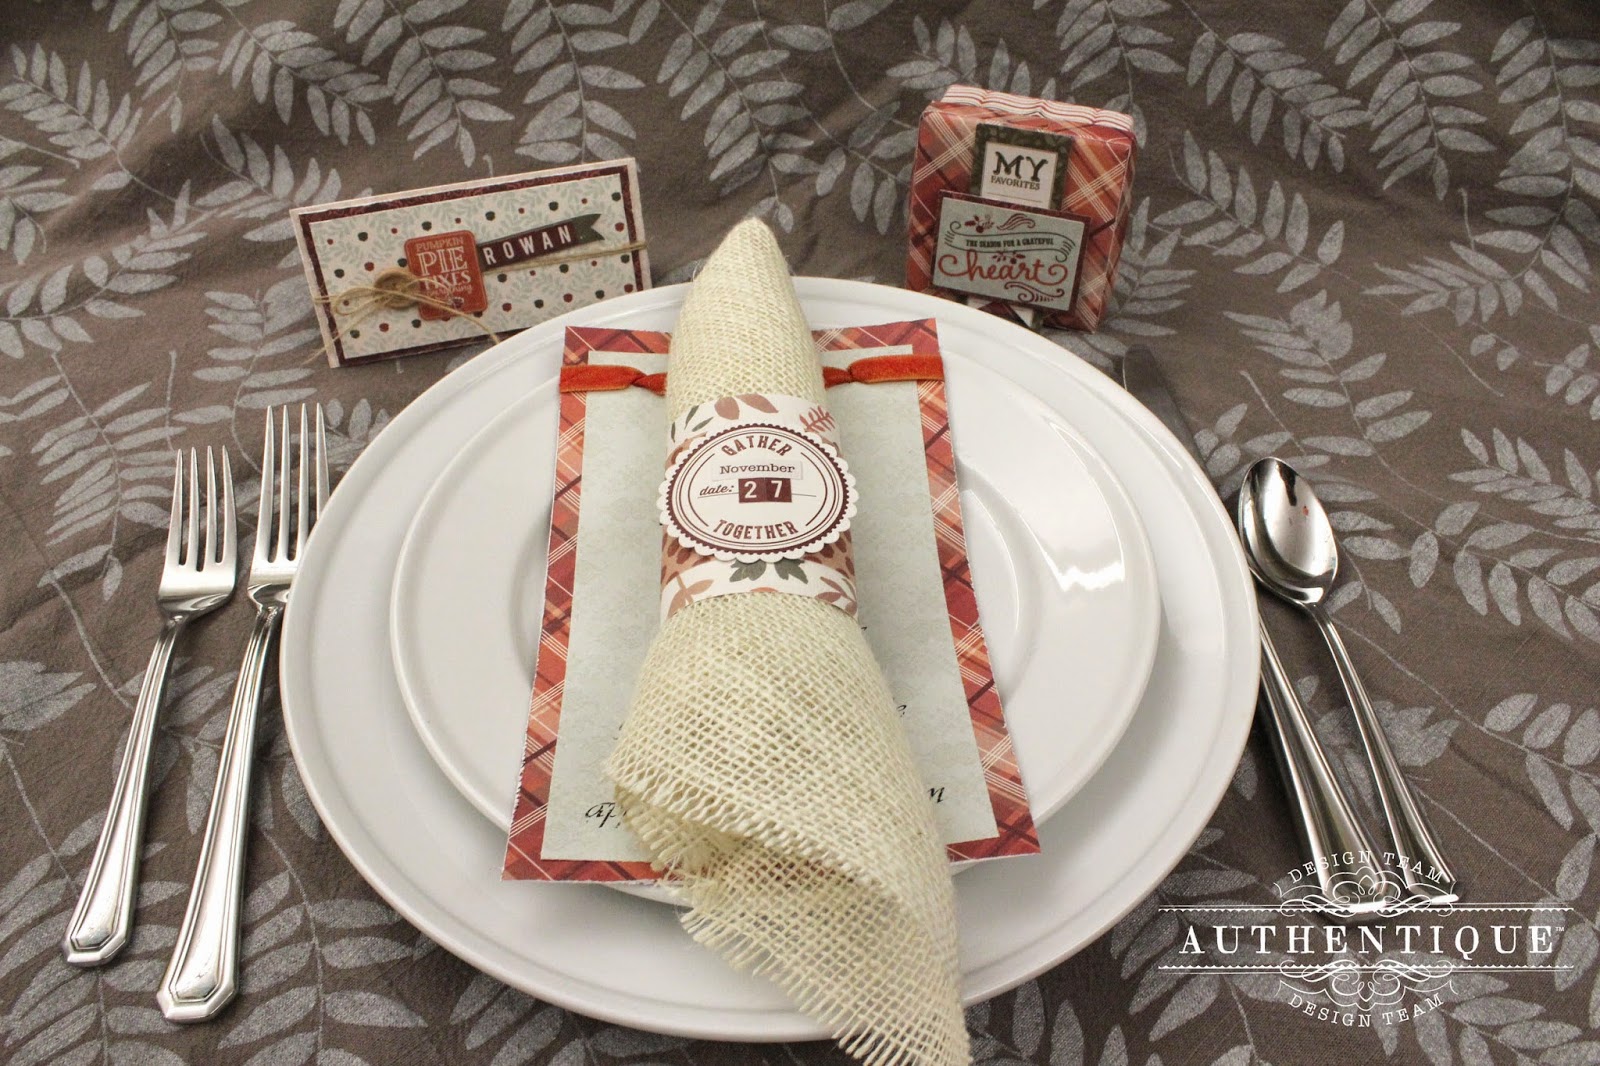
I also included a few pocket page cards that I printed so round out my pocket scrapbooking this month. The six cards to the left are from Paper Issues, and the Fall card is a printable that I sized down from Studio Calico. I also am including, but they aren't pictured a couple of Elle's Studio Die Cuts... 
http://www.shopellesstudio.com/Sycamore-Lane-Cutouts.html
 http://www.shopellesstudio.com/Sycamore-Lane-Word-Labels.html

Pin It

Sunday, November 23, 2014

Xyron's 30 Days of Holiday: Decorative Wrapped Frames

For thirty days, the Xyron Design Team is creating and sharing various tutorials focused on the holidays. Today, I am sharing how you can change up your current decor to be more festive with minimum cost. Make sure that you keep checking back on the Xyron Facebook page daily for more inspiration.
I have some amazing art, but not all of it is the right color for my Christmas decor. This is a take on the "present wrapped frames" that many people do around the holidays. I started by taking my framed picture, and tracing the edges in pencil onto some kraft wrapping paper that I have.
I then found the center of the rectangle, and lightly penciled in a triangle. This will become my "tree".
I then die cut various sizes of Christmas paper. For this project, all of my papers are from Authentique's Believe Collection. To maintain the tree idea, I used predominately green patterns.
I then used my Silhouette Cameo to cut a large sentiment, which I then ran through my Xyron 9" Creative Station.
I really wanted some sparkle on this project, so lightly adhered a few of the smaller circles to some scratch paper using my Xyron Mega Runner, by tapping the Mega Runner onto your circle instead of dragging it. This way, only a tiny bit of adhesive sticks to the backs of the circles. Then I used some Versamark Ink and Tim Holtz embossing powder in Super Fine Gold to create ornaments.
To finish off each of the circles, and the sentiment, I inked the edges using ImagineCrafts Inks (Bamboo Leaves, London Fog, Pistachio).
Once all of the pieces were inked, I ran all of the larger circles through my Xyron 9" Creative Station
Then, I started adding all of the circles, keeping them within the edges of the triangle I had drawn earlier.
To add more detail, I die cut some small red circles and ran those (and the embossed gold circles) through my Xyron 1.5" Sticker Maker.

Then I attached all of the small pieces, filling in the gaps with red buttons of various sizes.
Once the piece was complete, I wrapped the frame up as if it was a present, leaving the back open so I could hang it to the wall. Instead of using wrapping paper tape on the artwork, I used Xyron Double-Sided High Tack Tape so that the seams were hidden.
When the entire piece was wrapped, I used a Uni-ball Signo White pen to add some faux stitching around the edges.
Isn't this just a fun piece to have hanging?!?! I especially love the large sentiment.
Thank you for stopping by to see today's tutorial. Make sure that you check out all of the Xyron's Design Team member's blogs (links are to your right), and the Xyron Facebook page regularly this season to see all 30 Days of Holiday!
Supplies Used:
Xyron 9" Creative Station, Xyron 1.5" Sticker Maker, Xyron Mega Runner, Xyron Double-Sided High Tack Tape, Silhouette Cameo, Authentique Believe Collection, We R Memory Keepers Nesting Circles Die Set, Tim Holtz Embossing Powder (Super Fine Gold), ImagineCrafts Inks (Versamark, Bamboo Leaves, London Fog, Pistachio), random buttons, Uniball Signo white pen, kraft wrapping paper, framed picture from my living room

Pin It

Friday, November 21, 2014

AUTHENTIQUE PAPER: Grateful Table Setting

One of the best things about the holidays are the decorations. I have for you today a few little additions to your table that can help to make your dinner really special using the Grateful Collection by Authentique. Make sure that you check out the entire table setting over at the Authentique Blog today!
And Happy (early) Thanksgiving!
Pin It

Monday, November 17, 2014

Celebrating 100 Posts for Creating Us!!!

My lovely (and über-talented) friend Jill Keller is celebrating her 100th Blog Post on her blog today! I met her through the Gossamer Blue community, and she has recently started to design for them. She does a fabulous job and is one of the reasons that I decided to re-sub starting next month!! Make sure that you check out her blog today, as I know that she is having a super-fabulous giveaway! Pin It

Saturday, November 15, 2014

#NBCT Bound (AND I PASSED!!)

I've had this layout completed for the longest time. And just like the National Board for Teaching process, it sat. Waiting to be scored. Ready to be complete. Seriously, the endless hours, the countless moments poring over the same video, are all worth it once you see the words "Congratulations! You are a National Board Certified Teacher!"

I'm still reeling on this one.
Products: American Crafts (paper & alpha), Sassafras Lass (papers, flowers, alphas), Neat & Tangled (sequins), Tim Holtz Distress paint, ink Pin It

Tuesday, November 11, 2014

AUTHENTIQUE PAPER: Merry Christmas Wine Tags with "Believe" & Petaloo

This week over on the AUTHENTIQUE BLOG, we are partnering up with the Petaloo Design Team to showcase some amazing projects featuring Authentique papers and Petaloo products. Today I have a pair of wine tags, featuring the Believe Collection, that can easily spruce up any bottle for a present or hostess gift this season. Come over to the BLOG today and check them out!
Pin It